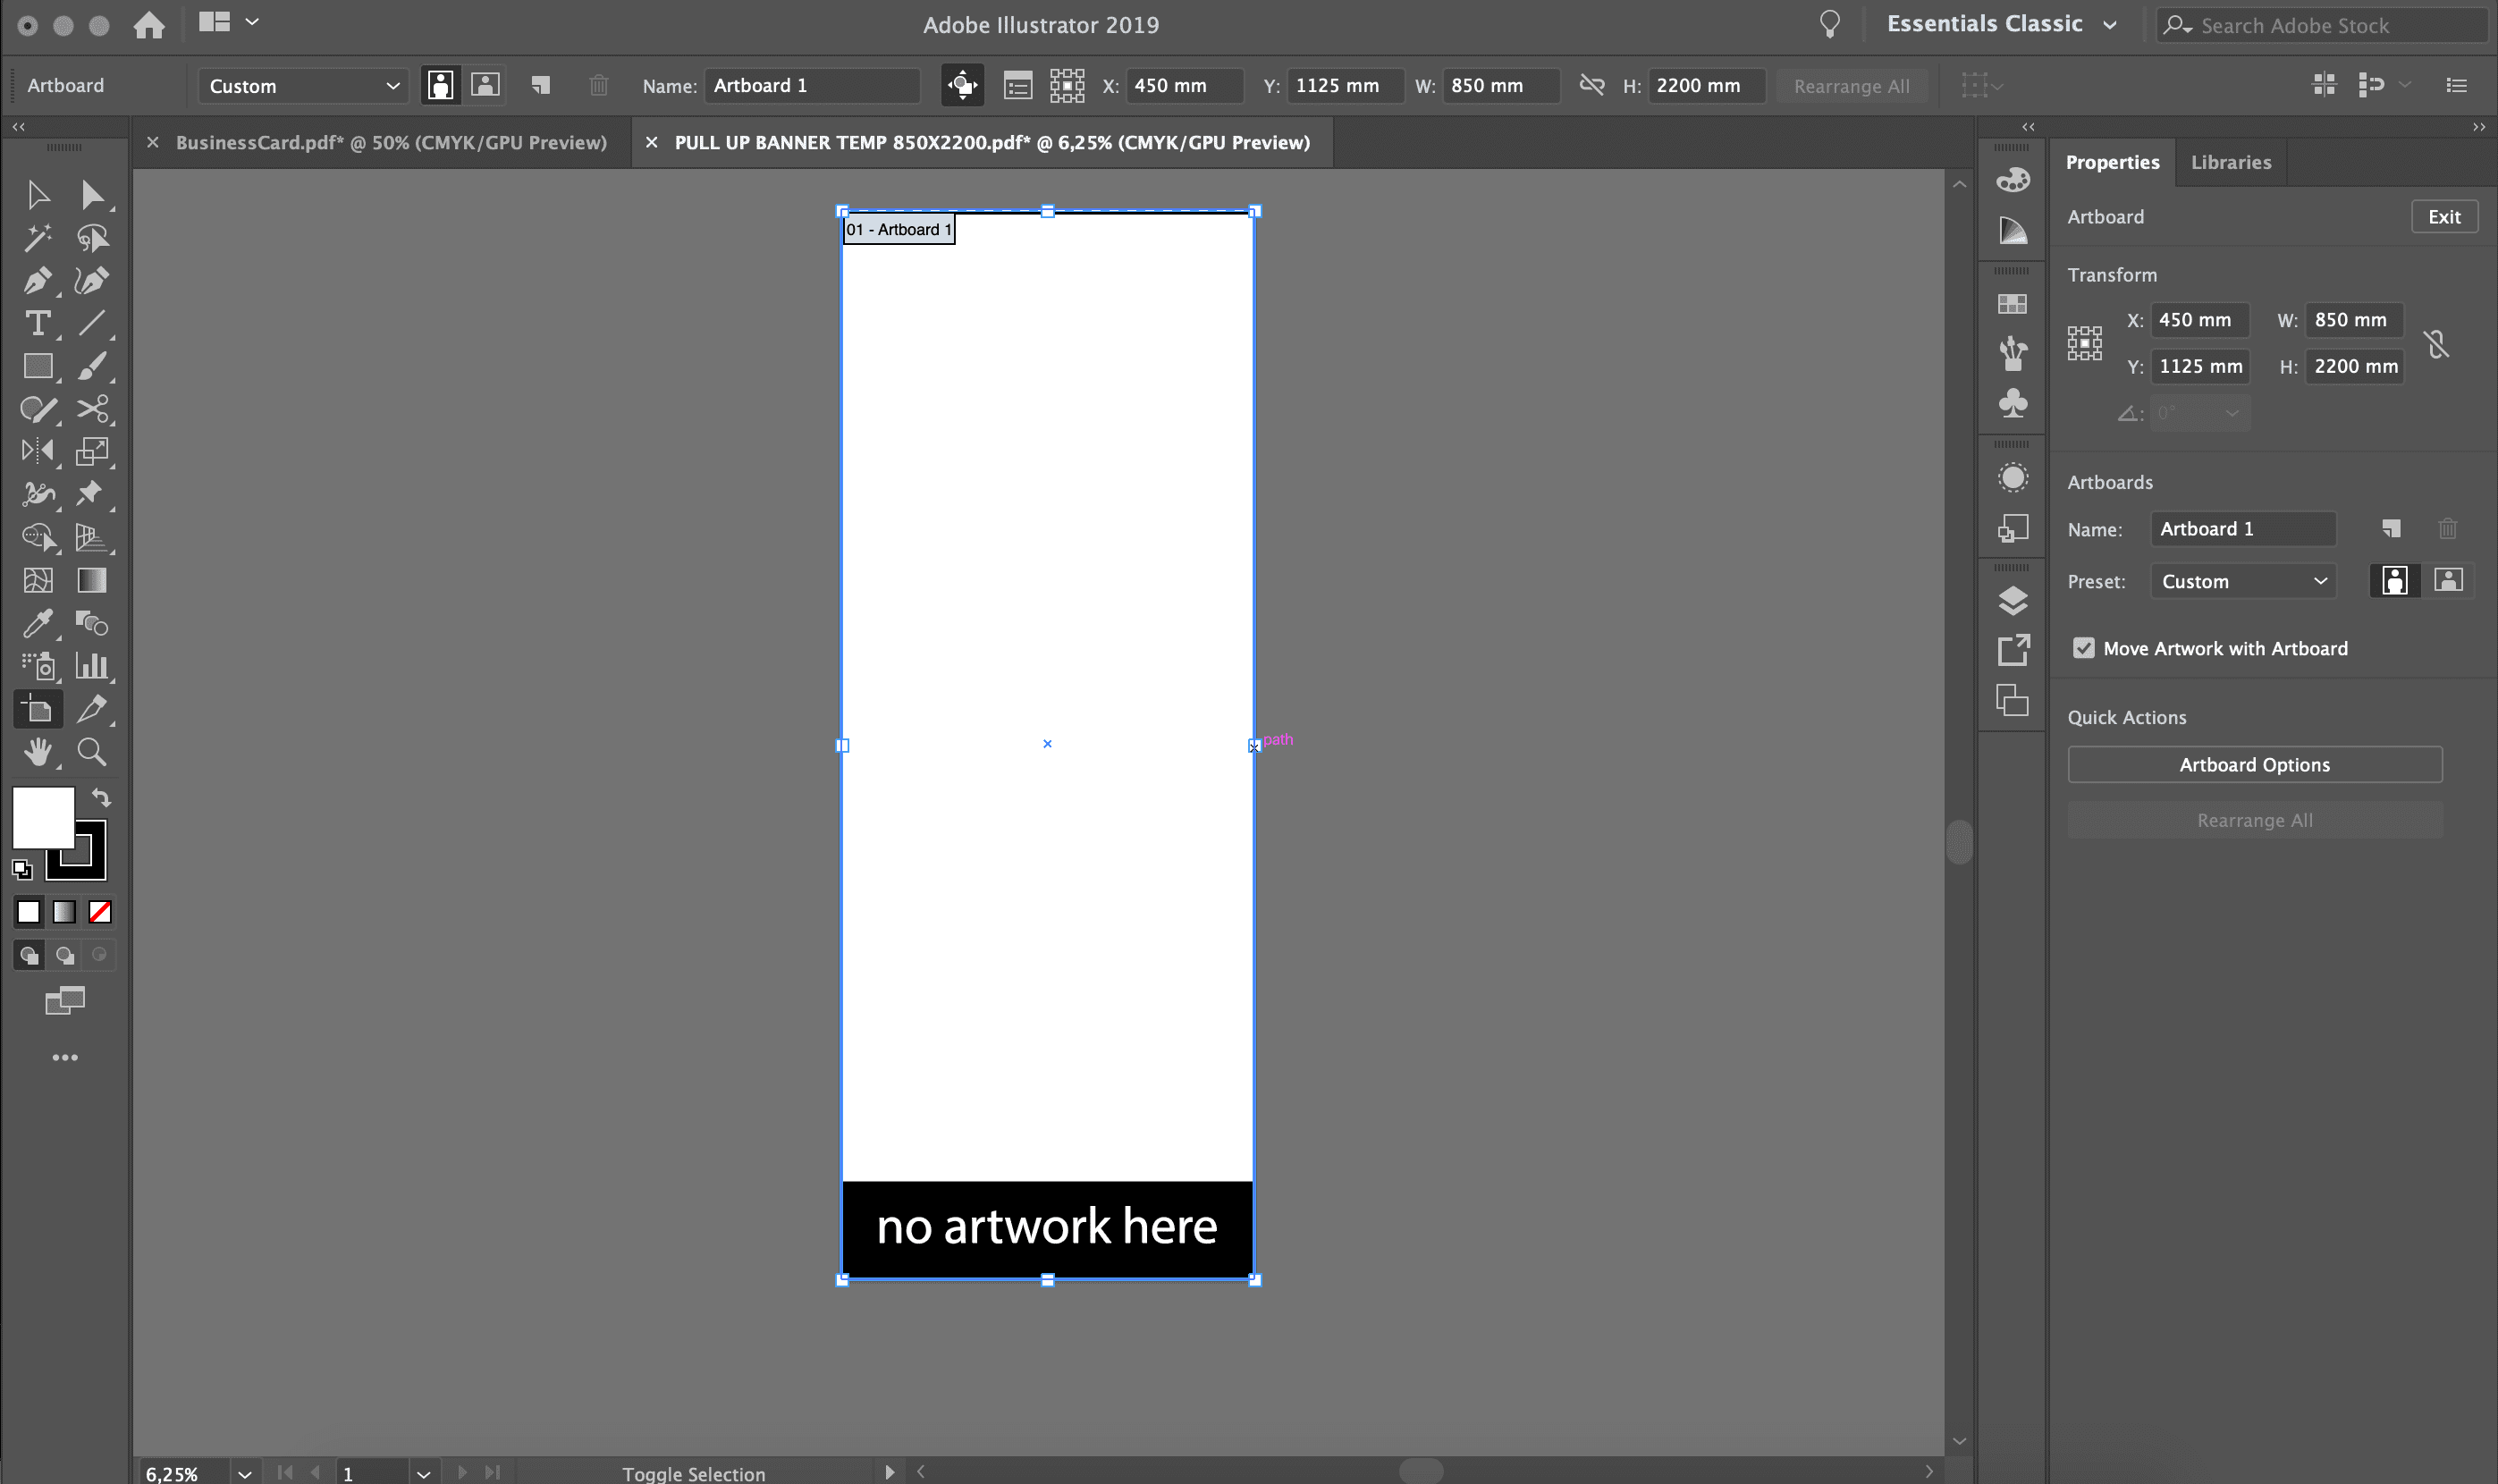
First, let’s set up our document. We want to make sure we are setting up the document to the right size. Take a look at the Pull-up Banner options Printulu offers to see what size you want to set up your pull up banner design. We offer three different sizes – the one you choose will determine the size of your artboard.
• 150 x 200cm
• 85 x 200cm
• 120 x 200cm
For today, we’ll design a standard 85 x 200cm banner.
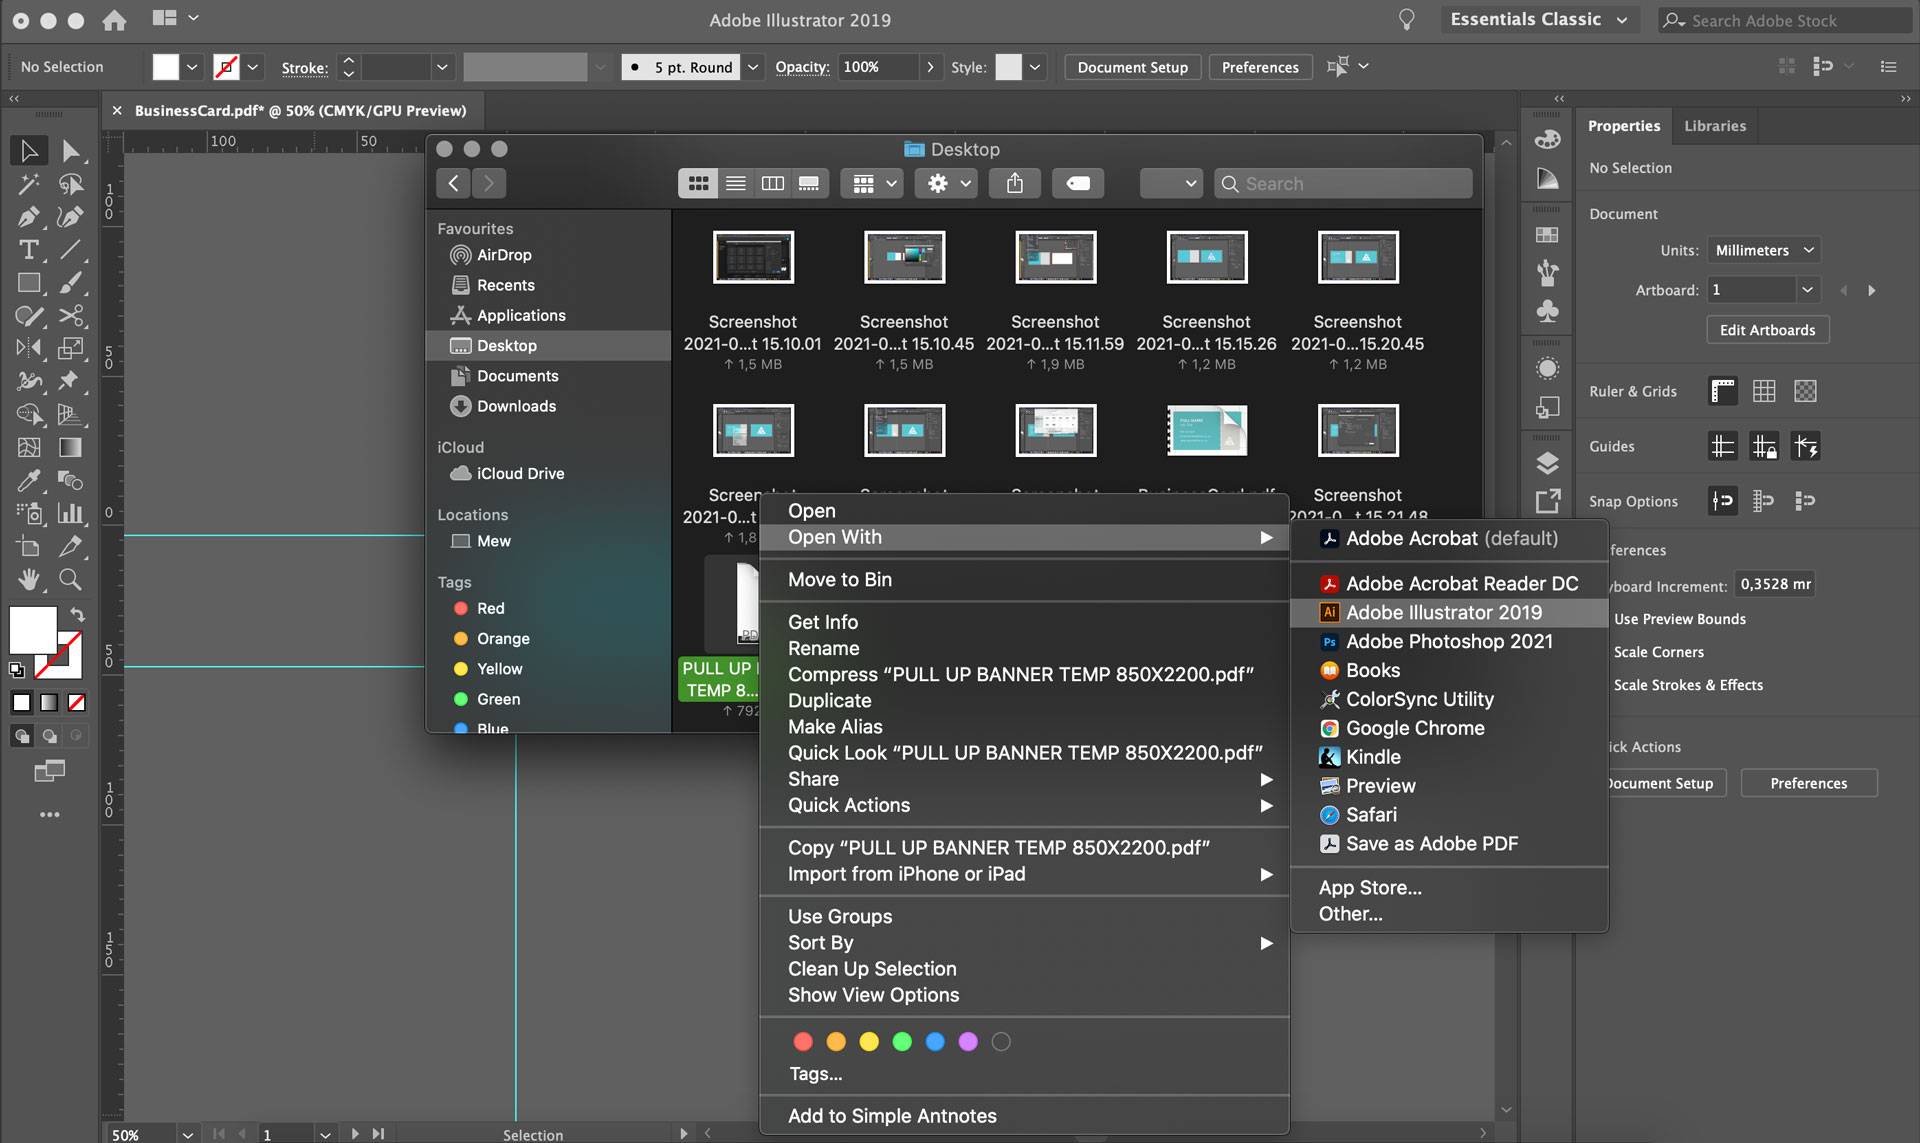
Import And Set Up Your Pull Up Banner Design File
For Printulu’s banners, it’s always easier to work from our template (download it here). After opening the template file with Illustrator, it’s important to check that your document settings are correct. Here are the basic settings you need to have set up when first opening your new document:
Document Presets: Print
Width: 85 cm
Height: 200 cm
Orientation: Horizontal
Artboards: 1 (our pull-up banners are single-sided).
Bleed: 5 mm on Top, Bottom, Left and Right margins (this is indicated by the red line around the artboard).
Advanced Options:
Colour Mode: CMYK Colour
Raster Effects: High (300ppi)
P.S. If you don’t see the bleed (red border), go to View > Guides > Show Guides.

Add Your Logo File
File > place > select your logo file.
The logo should be a vector graphic. Avoid accepting from the client the logo as a small .jpg or .png because that could affect the quality of the project which is actually your responsibility as a designer. If there is no other option but to use one of those formats, make sure it is big enough and you do not have to scale it up by stretching it. Remember that a pull-up banner is a large format printed item, so you need high quality imagery.
Insert Your Details
Create your design according to your brand’s specifications and identity. You will want to make sure you include your services, or the basic information in quick, legible bullet points. Avoid using long paragraphs as people are unlikely to read it.
Size: No smaller than 8pt but you will probably use a bigger font. Keep in mind that this will need to be legible from a distance, because of the nature of the product.
Embed Your Text
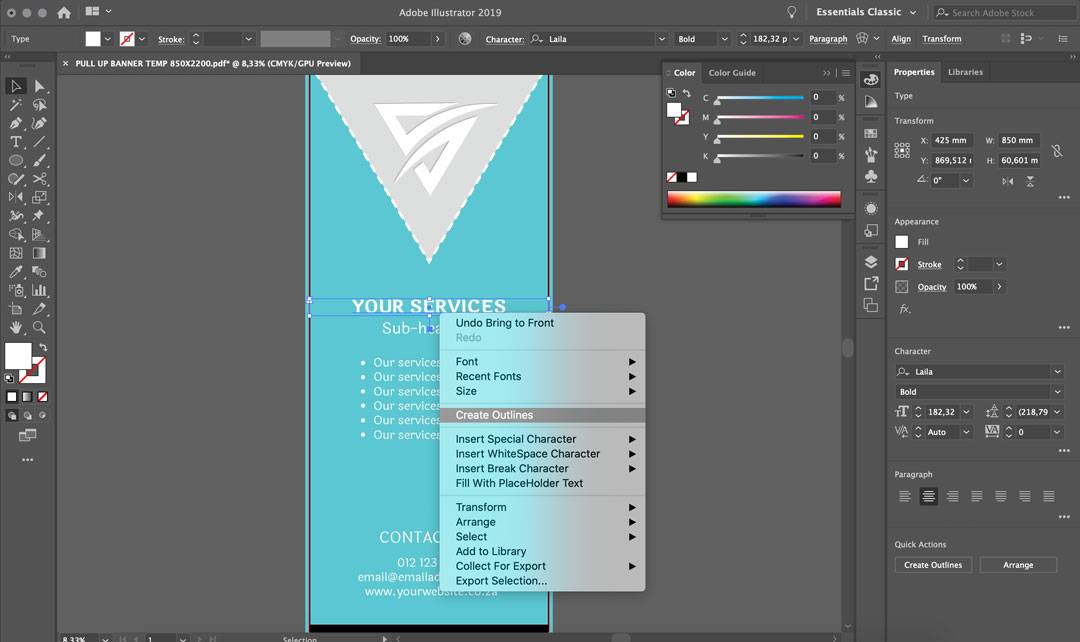
Make sure you transform the text into outlines, by going to Type > Create Outlines or using the shortcut ⇧⌘O. You can also select the words, right click and select Create Outlines. This embeds the font, turning the letters into shapes. This means your text is in no danger of disappearing when printed.
Save Your File For Print
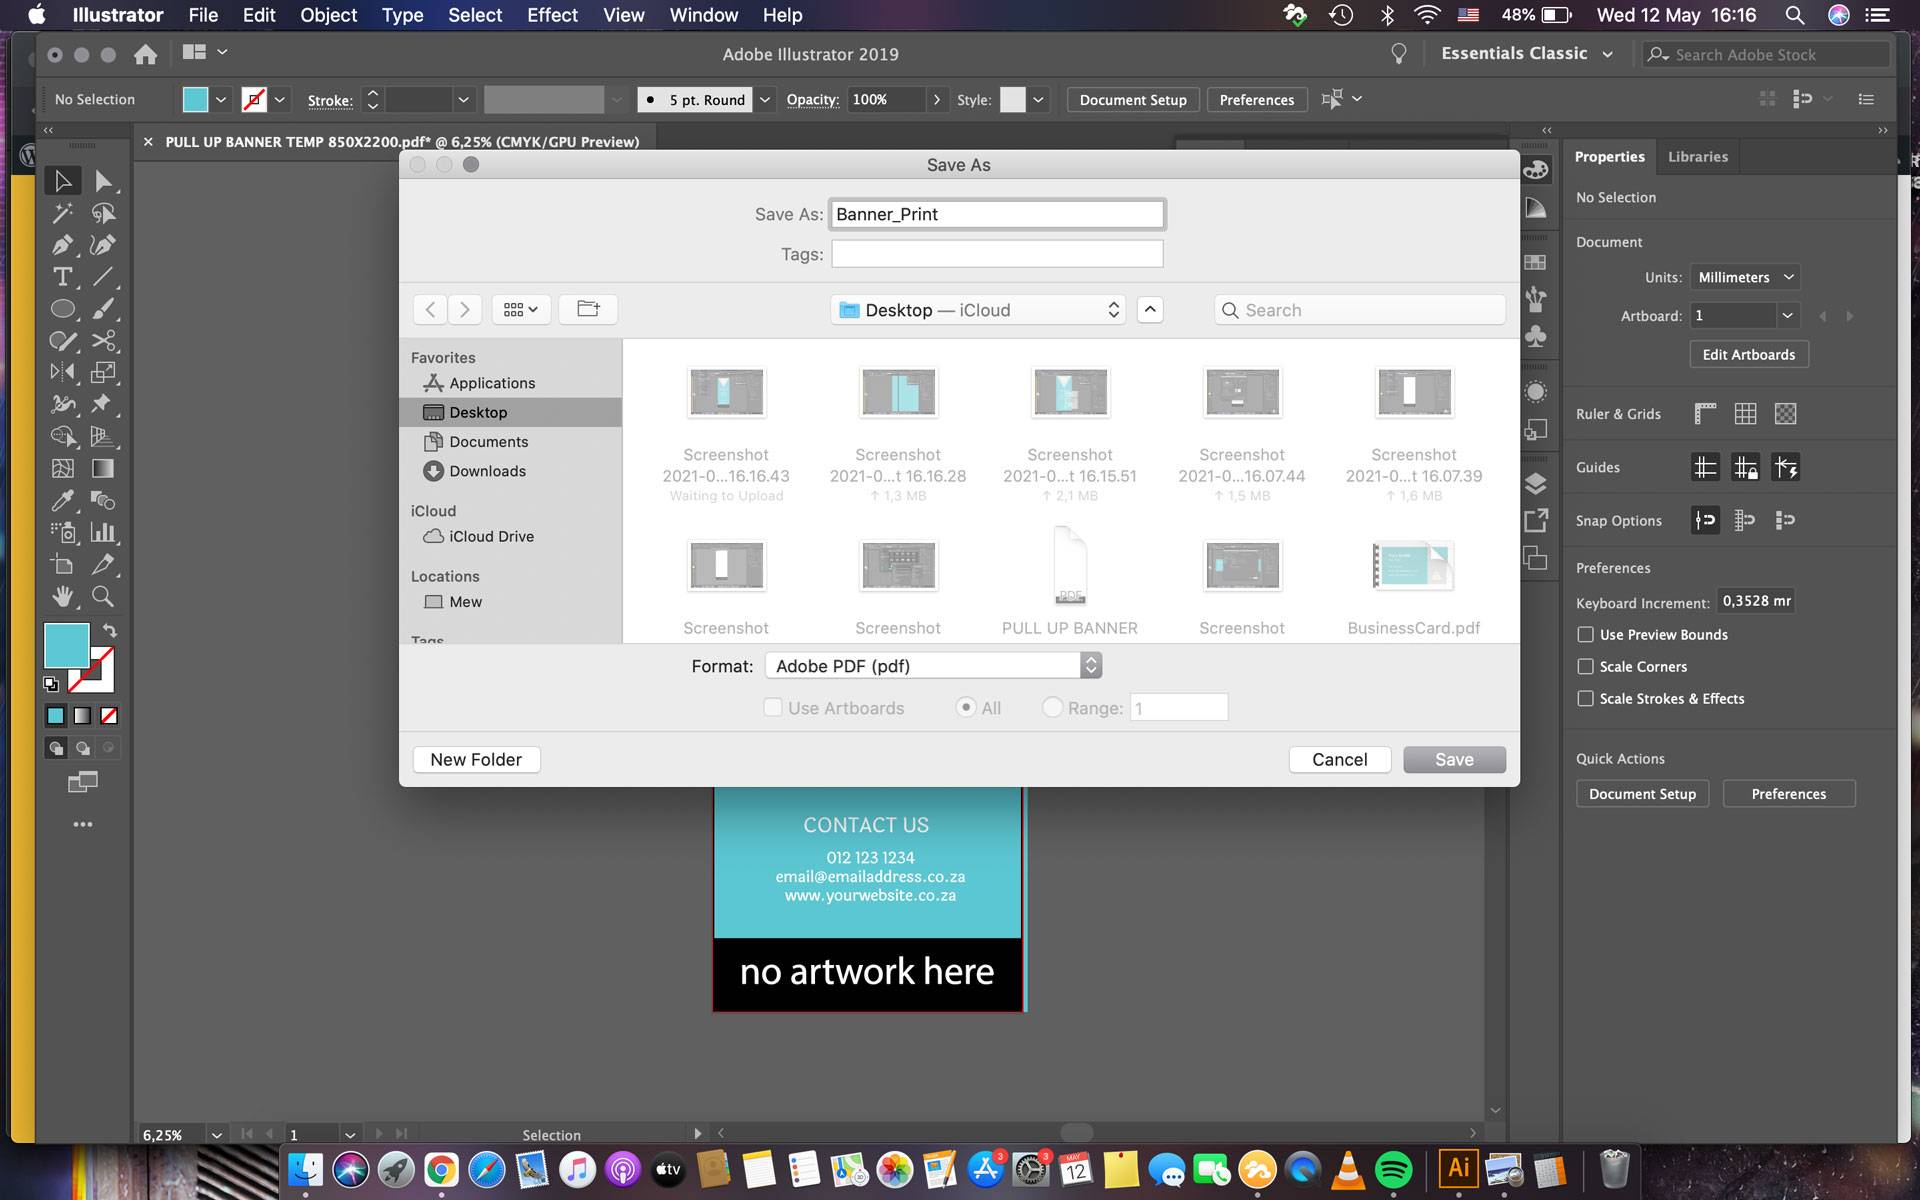
Export your file as a .pdf with a high quality print preset. Select marks and bleed when exporting the file, to ensure the bleed marks are saved into the final PDF file. Go to File > Save a copy > High Quality Print > Deselect Preserve editing capabilities > Under marks & bleeds select trim marks & use documnt bleed settings > Select save PDF.
You’re Done!
As always, keep experimenting with different techniques. Don’t forget to post your version below, along with any questions, comments, or critiques!
Creating a custom banner is excellent for those who love to design everything from scratch and tinker with every little detail; however, if this is daunting or too time consuming, try our design services. Happy shopping!


