Young graphic designers take time to learn the ropes of the design process, whilst experienced ones simply need a handy refresher to polish up their own methods every now and then. The design process is something that needs to be completely transparent to clients in order to avoid frustration. It’s not a quick process. After all, you need a qualified person to be able to take your vision and make it reality on paper.

The best way to do this is to follow a structured approach with effective time management. There are many ways you can approach this process depending on your client, objectives, and campaign. But there are essential phases that you should never skip.
Step 1: Study the client brief
The Printulu design process kicks off with the client brief. As a client, the first thing you are asked when choosing design services is to brief the design team.
Our designers take this brief, interpret it and create a design that is both print-ready and meets the client’s needs. We also have a 2 revision policy – which means that any client can make changes up to two times to the initial draft. This is to ensure that the final designed item is exactly what the client wants.
When the designer is unsure of the outcome desired based off of the brief (see how to brief your designer properly here), we ask for clarification. What message is the project trying to convey? What art style and design approach would the client like to see? Would they like to include illustrations or photographs?
It is always better to ask than send a draft that is a shot in the dark, and could risk disappointing the client from the get-go.
Step 2: Research, then research some more
Research as much as you can. Take a look at the website of the client – which images do they use? Which colour palette? Which font hierarchy are they opting for? What tone of voice do they use when addressing their clients?
At Printulu, this search is quick and precise. WAs you become more experienced in the design field, you are able to make quicker choices based off of visual references provided.

Step 3: Brainstorm
You’ve researched the client, the industry, the brief, and the audience. Now it’s time to start putting it all together.
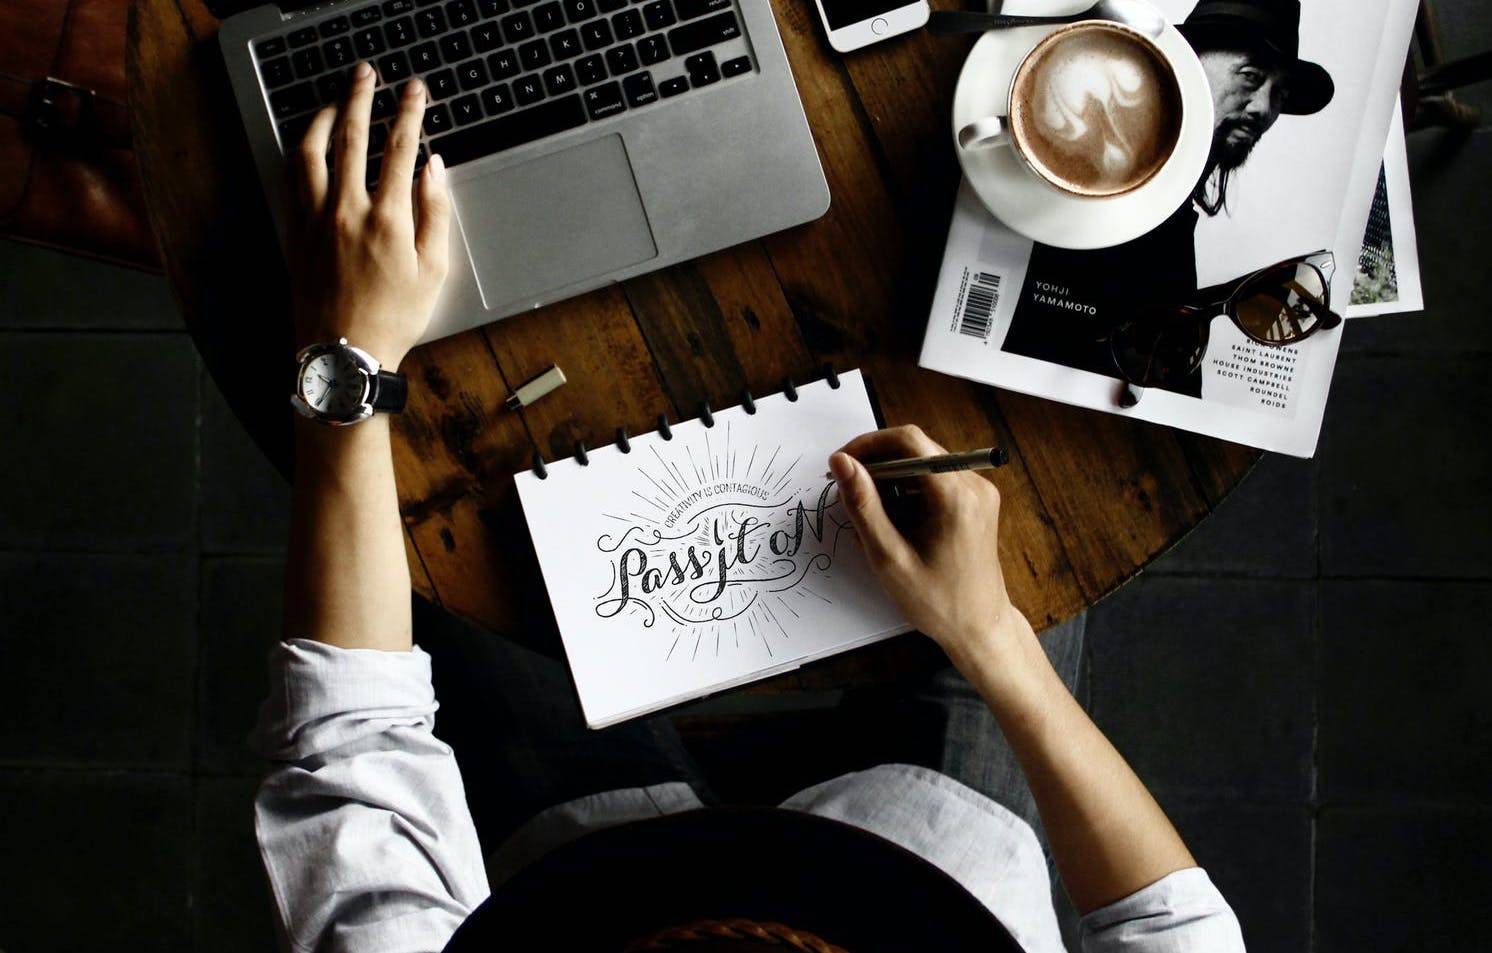
The brainstorming process is different for each designer. Some like to revert to putting pen on paper and sketching out ideas. Some like to reference Behance or Pinterest boards. Some like to get started in a new file and design until they get to something they like.
Whichever you choose, it’s a good idea to keep a record of your ideas and concepts, as you never know when you might want to revisit them in the future. At Printulu, we have a quick turnaround time and this process is combined with the initial research stage.
Step 4: Revisions
Now that you’ve settled on a concept and general look and feel, it’s time to go to town on a final first draft. This is the first revision we send to clients at Printulu. All the files we send are print-ready, so they can be approved at any stage and go directly through to print without further delay.
If the client has changes they would like to make, we restart the process, make the desired changes, and send the second draft. The process often doesn’t need to be repeated as we try to get the design finalised within the first draft. However, if the rare occasion occurs where a client needs three drafts sent in total, they have that freedom.
Step 5: Approval
Awesome. This is the best part of any design process. Your client is happy, and they approve the draft. At Printulu, the client is presented with an option to decline or approve each draft sent to them. Once the “Approve” button is clicked, the design is sent straight through to production.

There is nothing more satisfying than turning around a completed graphic design job to a satisfied client. So congratulate yourself on a job well done.
P.S. Want to join our awesome graphic design team? We are always looking for talented junior graphic designers to join our team. Send your CV and portfolio to [email protected] to get in touch.


