The most important part about following design templates is keeping to the set guides, trim lines and bleed lines. These are the three distinct measurements that are very important to ensure your printed piece will turn out as intended when using our free, downloadable print templates.
1. Bleed.
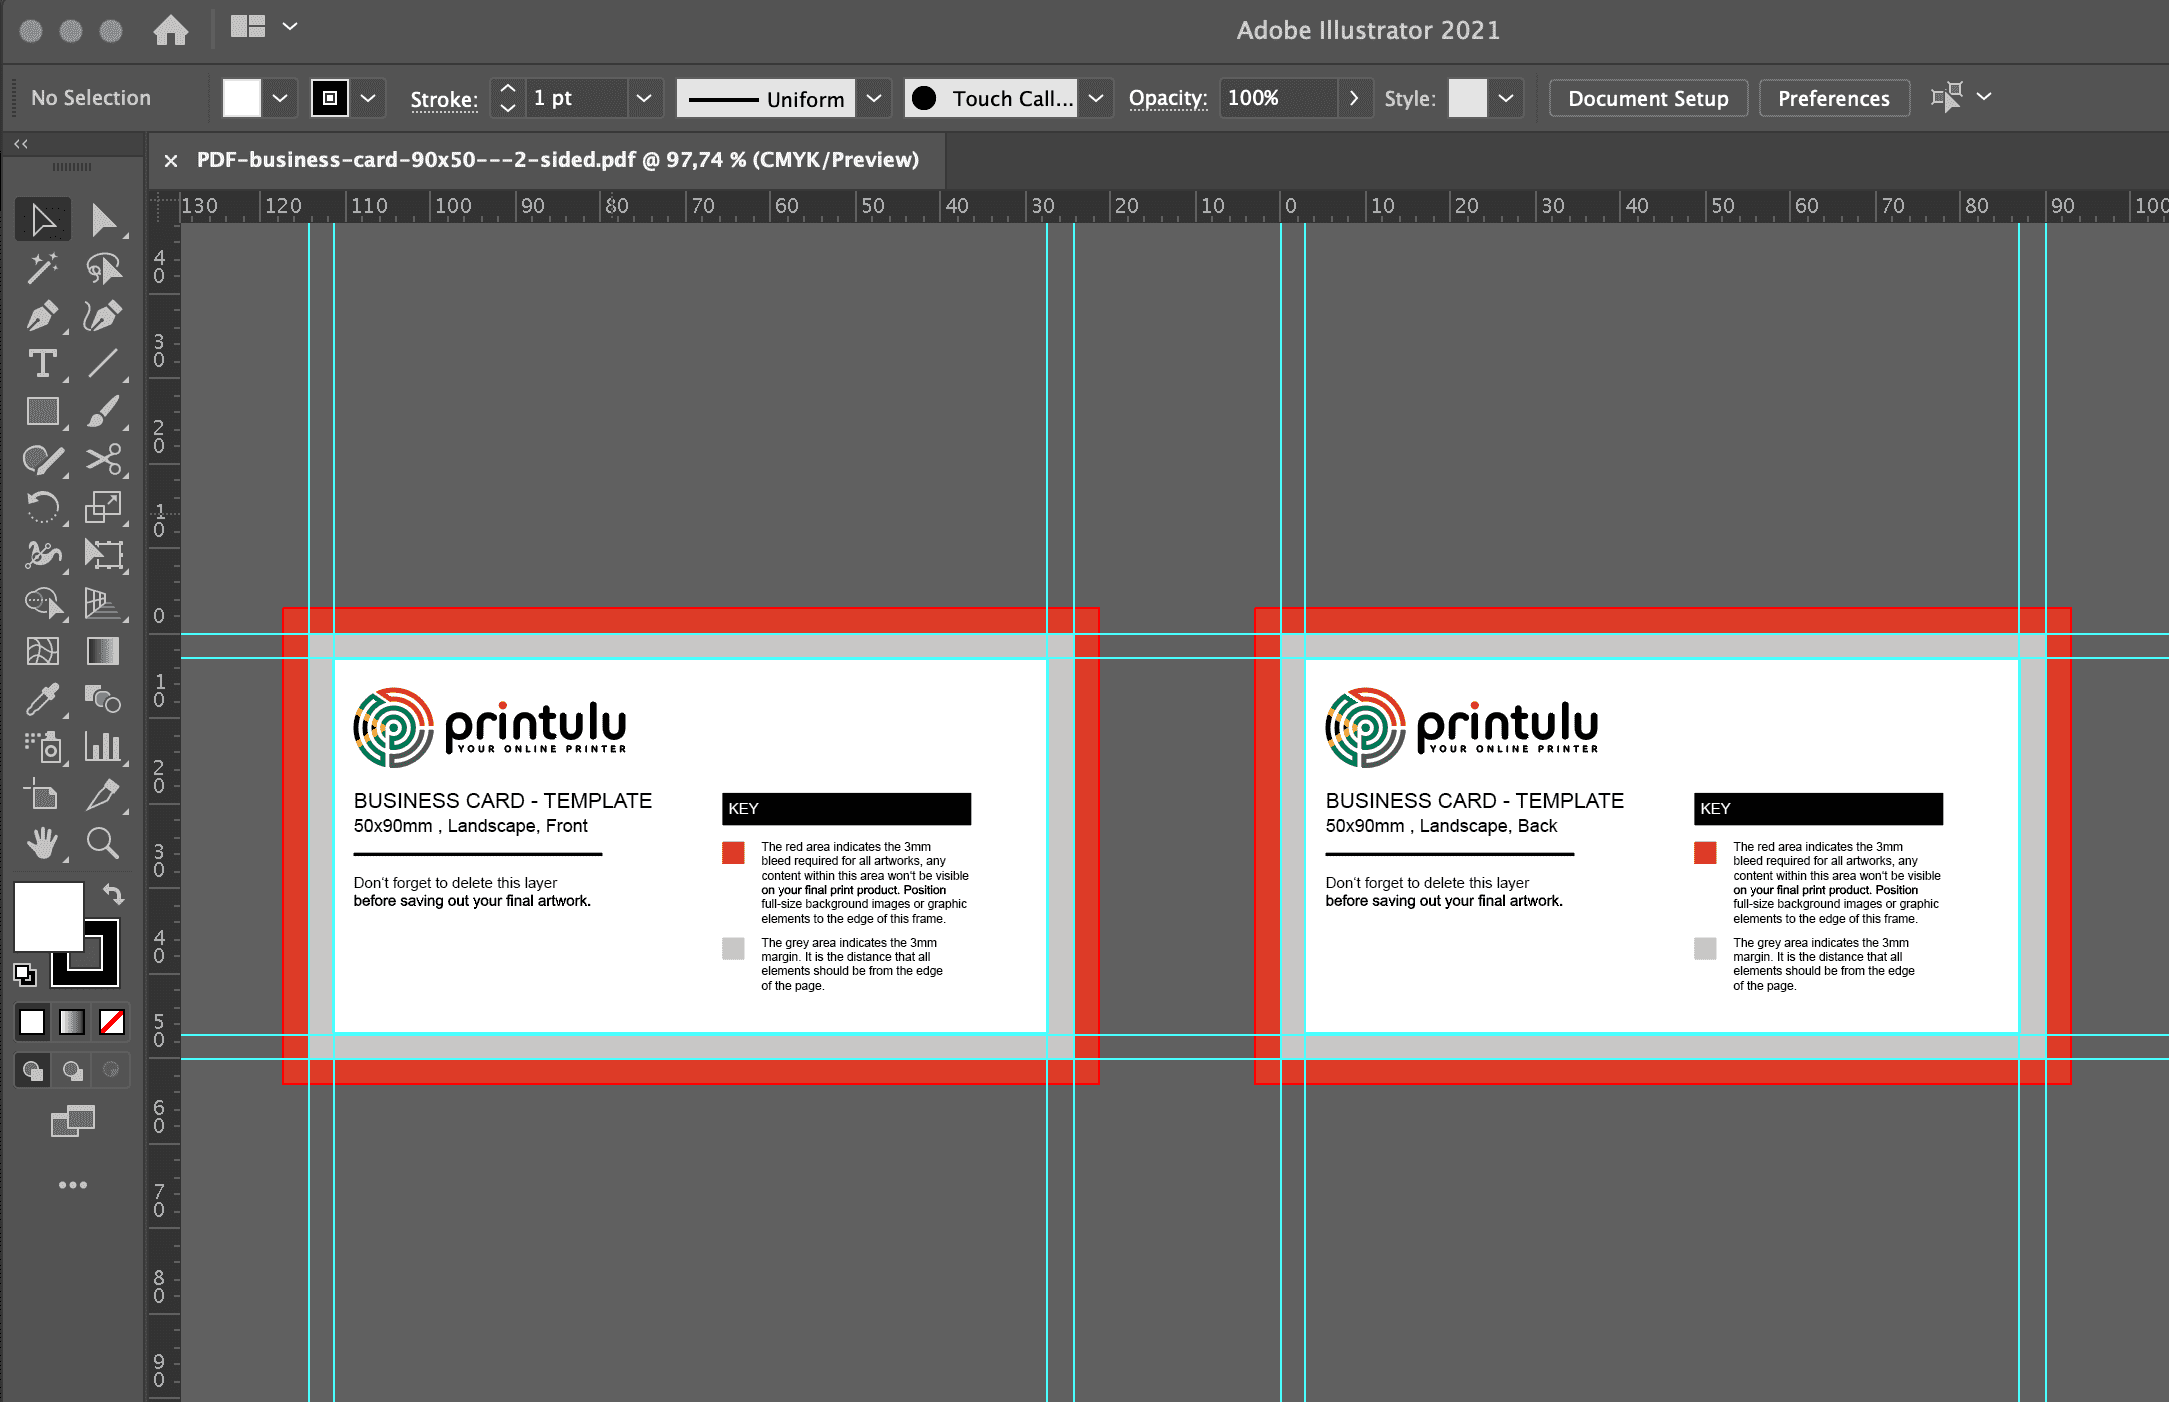
Bleed is the area that extends past the edge of the artwork. When the artwork (for example, a flyer) isn’t cut perfectly on the line, you don’t want the edge of your printed flyer to be white. Therefore, when your design “bleeds” off the edge of the page, the background of your artwork will always appear seamless.
2. Guide Lines.
We also refer to these as the safe text area. All text and great visuals need to stay inside of this line. Again, just in case of a slight shift when cutting, you don’t want anything meaningful to get cut off. With our pull-up banner templates, for example, there are two distinctive guidelines on the bottom and top of the banner. These areas should not have any important information, because they are the parts of the banner that roll into the mechanism and will not be visible to the public. With our basic products like business cards and flyers, we recommend using a safety margin of no less than 3mm.
3. Trim Lines.
Also known as a cut line or die line, this is where the printer aims to cut the artwork down to size. On straight-forward designs, like a flyer design, this is indicated simply by adding trim marks to the PDF file when you save it out. With more complex products like our paper bags and packaging templates, the die line is included in the template and shows the fold and cut lines of the product.
How to use our design templates
1. Choose a product
The first step to using our templates is to pick the product you want to print. This could be an A5 flyer, a business card, a pull-up banner, or even something from our newer range, which includes packaging and curved telescopic banners.
Our templates are product specific and are available here.
2. Download our design templates
If you’ve been checking out our products on the website, you might have found it hard to find our templates with the new system change. Don’t worry, we are working on it. Download our design templates here.
This is where you’ll find the free downloadable print templates for all the related product. They have been designed to make print design easy for our customers. To download, simply right click on the template size you need. Select Dowload & then the file will automatically download to your computer.
3. Edit the template
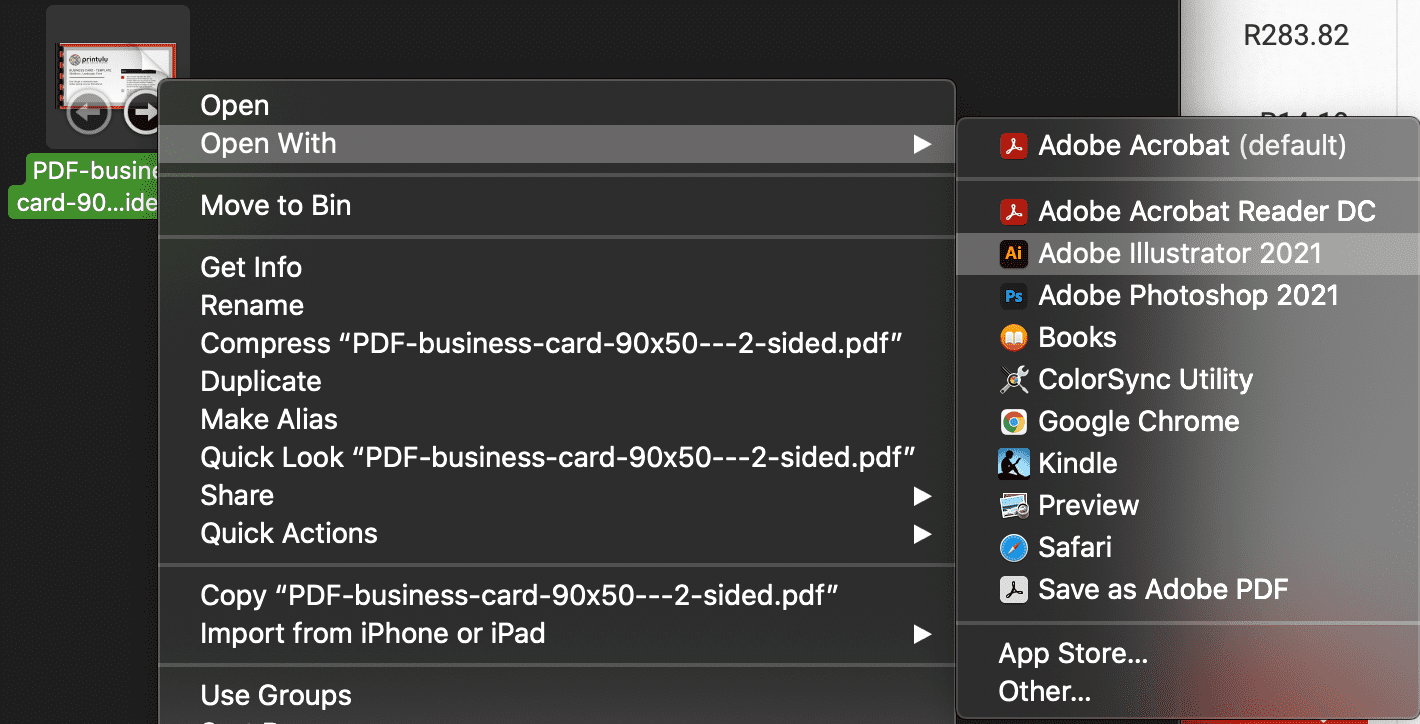
The next step is to create your print design by editing the template in print design software – we recommend opening the file with Adobe Illustrator. Please note that you can not add a DIE in Photoshop as this will be raster and thus will form part of the print.
Avoid changing/editing the lines of the template – only add your design below it, making sure to have any background images or colours bleed past the die line. Also keep the safety margins that we discussed earlier in this article in mind when designing.
4. Save your design
Once you’ve finished designing, it’s time to save it in print-ready format for print.
Read more about basic print-ready guidelines in our Print-Ready Artwork Checklist.
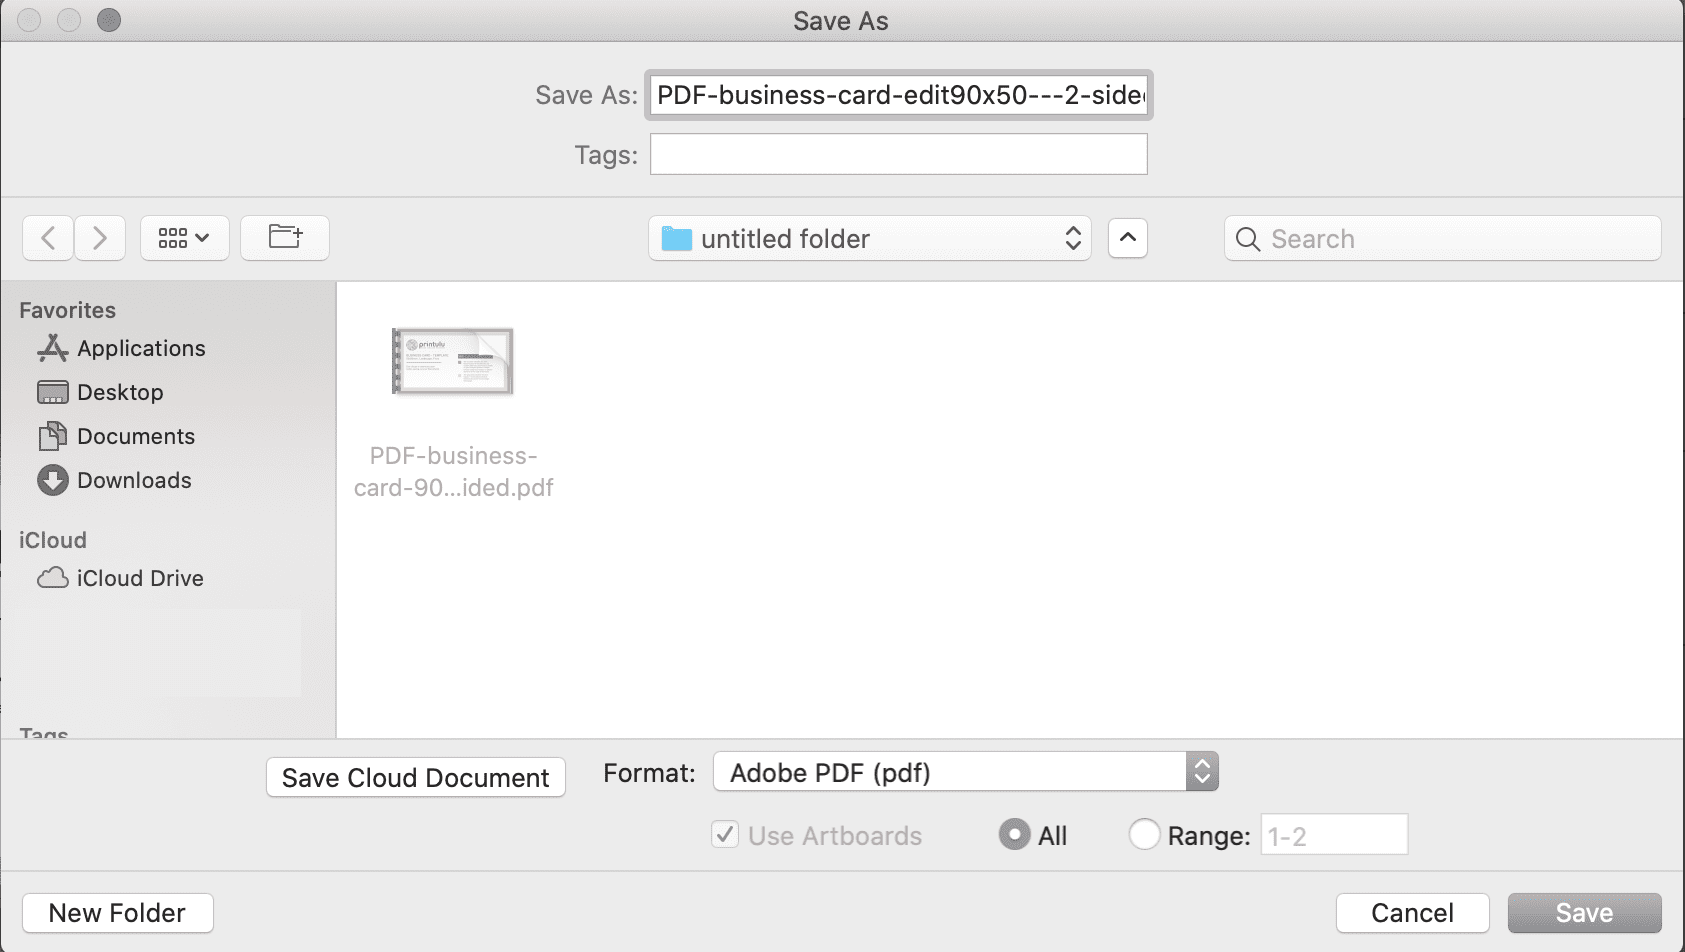
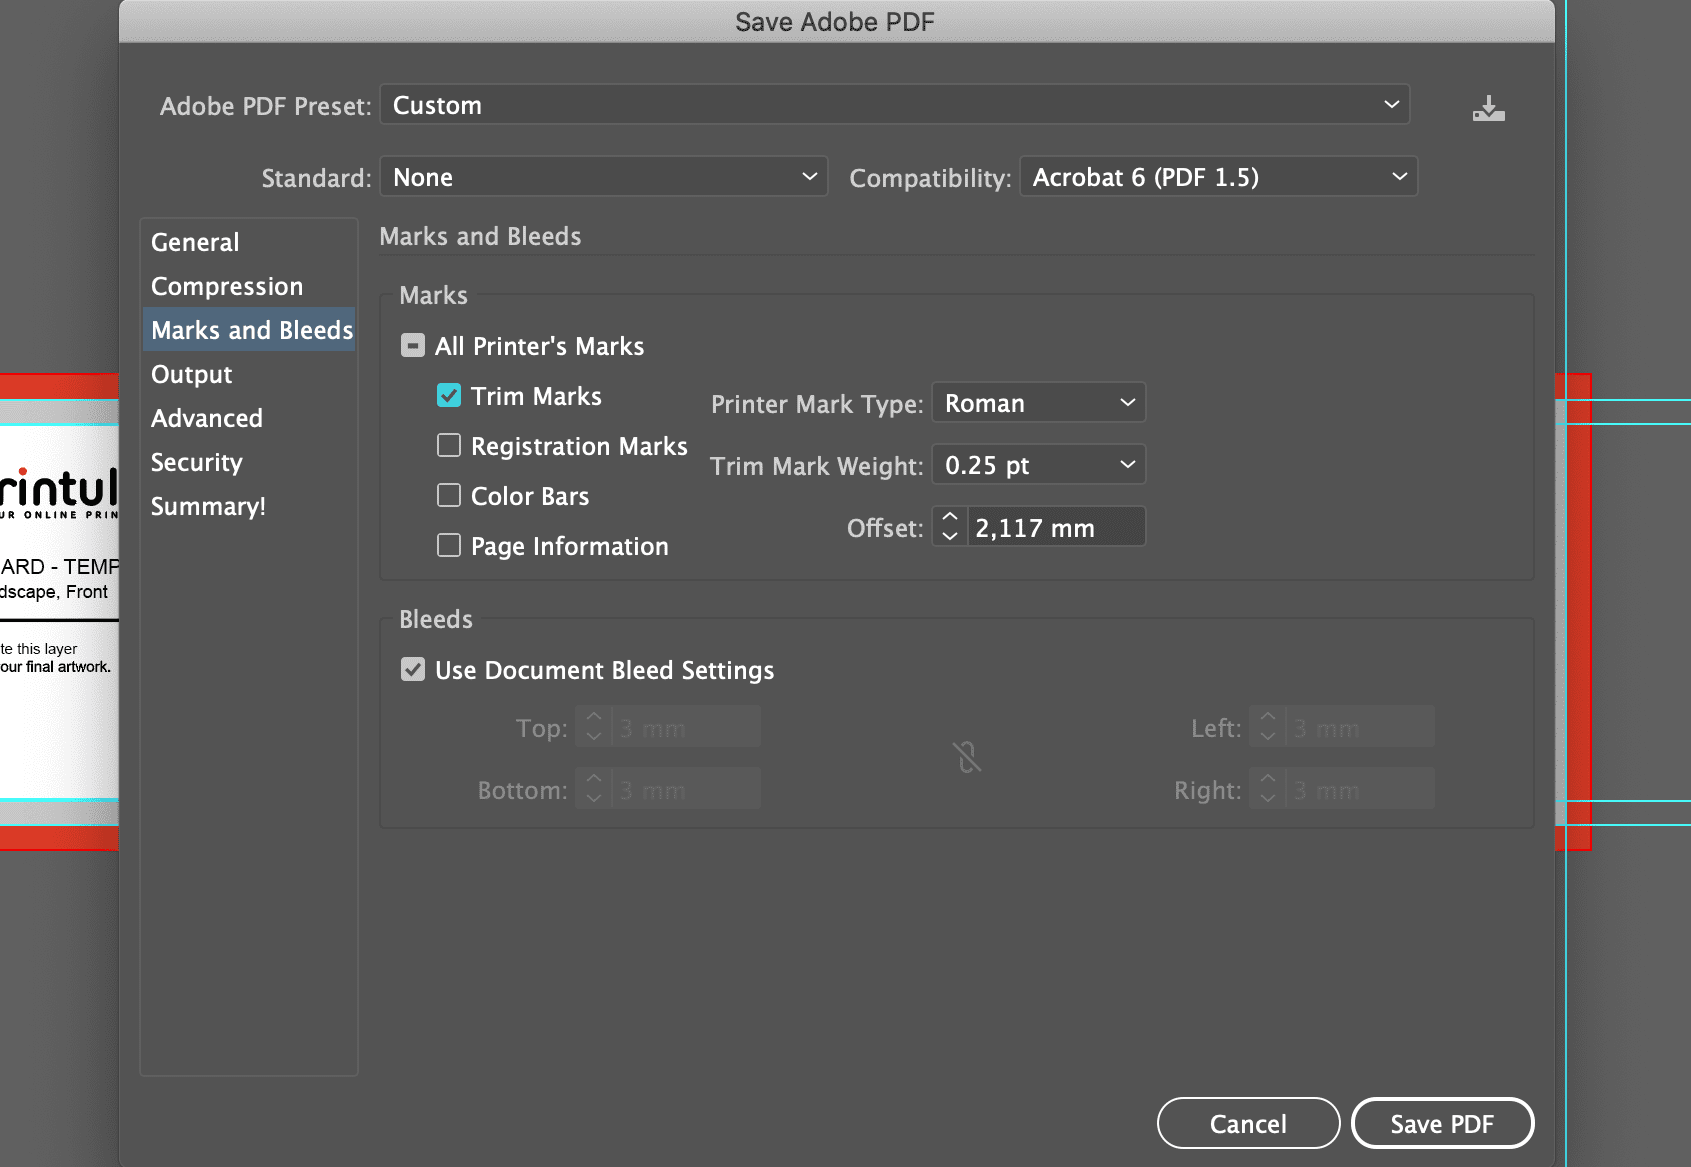
Save your file as a PDF, and under the marks and bleeds section, select trim marks. Where you have the option, we recommend you use the PDF preset called PDF/X-1a-2001 when exporting as this file type adheres to our print-ready guidelines.
5. Upload it for print
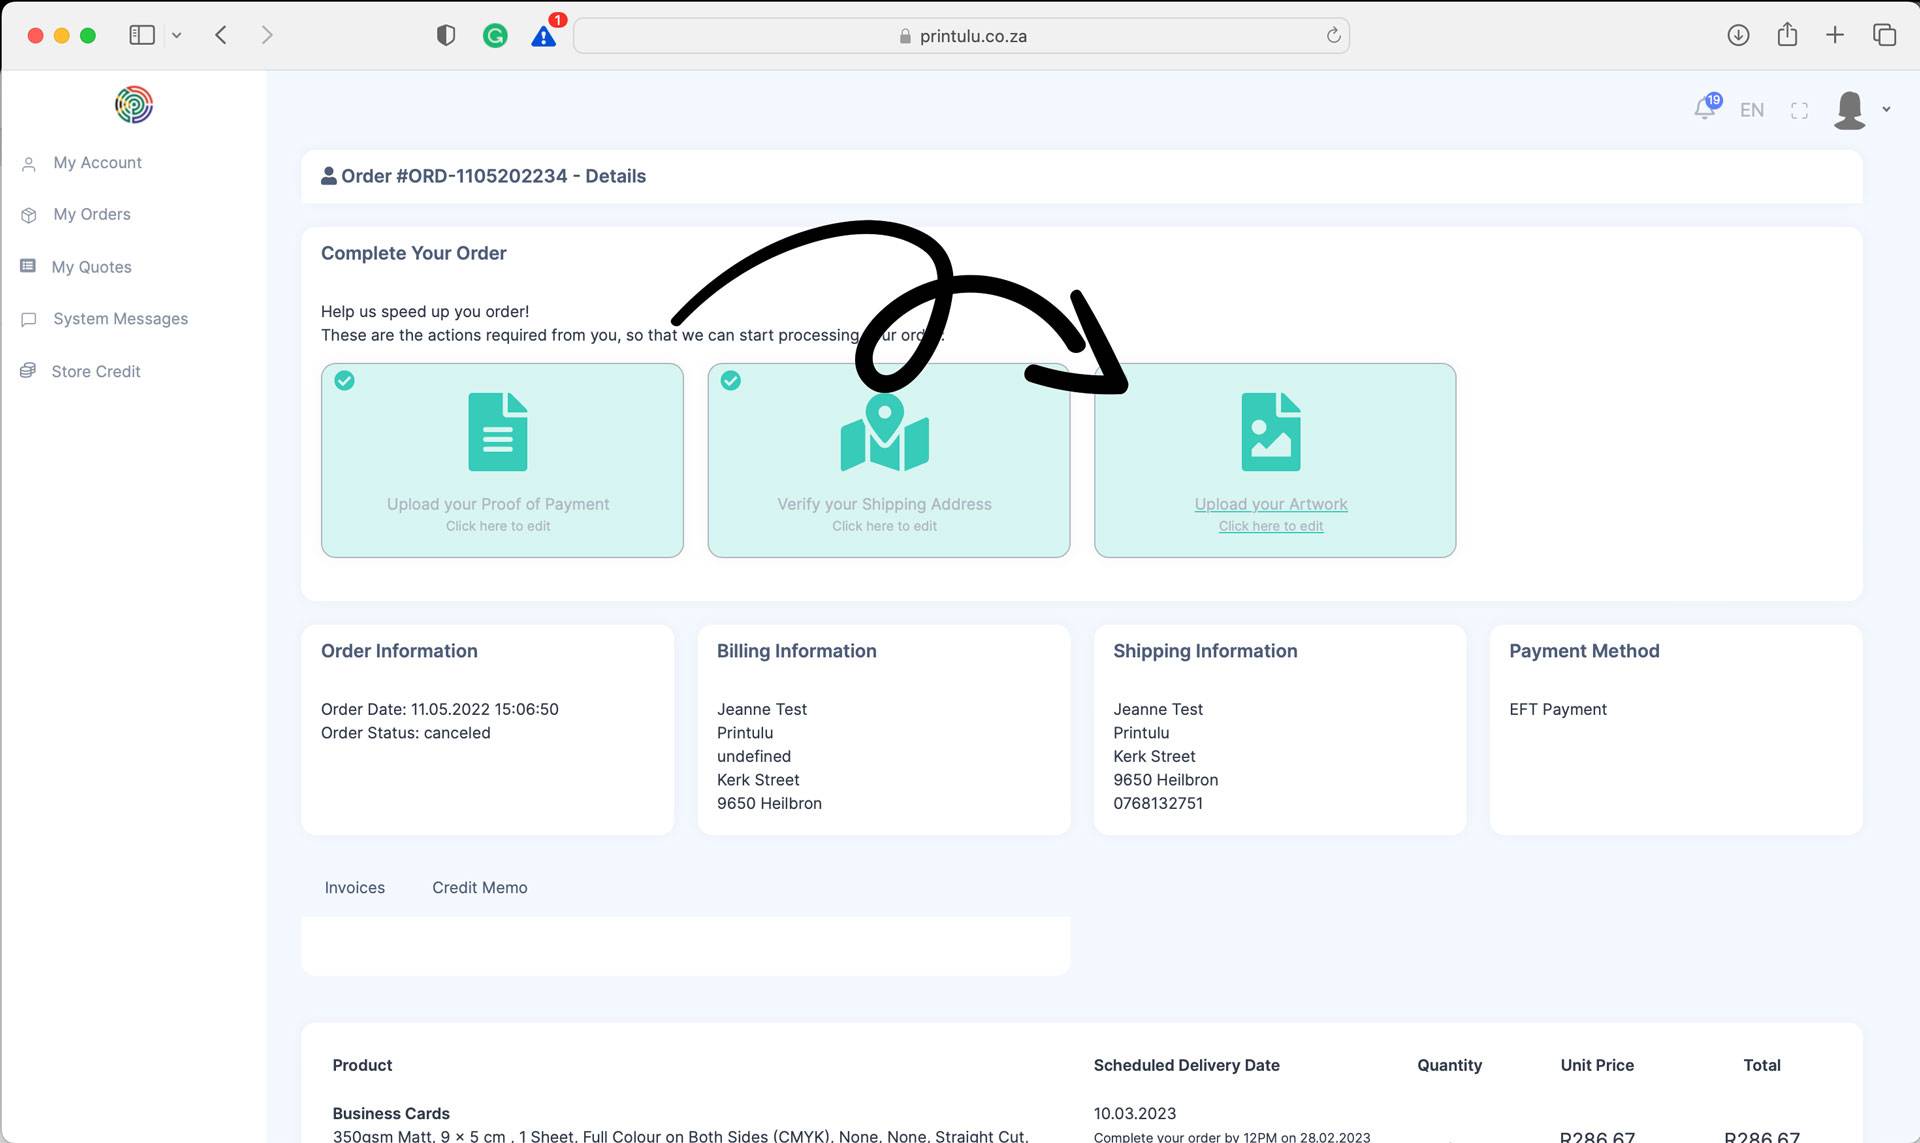
The last step of using our free design templates is to upload your file to your order. It’s a simple drag and drop functionality that makes online printing a breeze.
And that’s it! If you have more questions about finding, using or saving our free blank print templates, get in touch with our customer service team and we’ll be happy to help. Or, if you find that design isn’t really your thing, simply choose a design service option when configuring your product and brief our professional design team. For more information on our design process, check out our new post, “Best Print Design Practices: Take A Look Behind The Scenes Of Our Design Process“.

